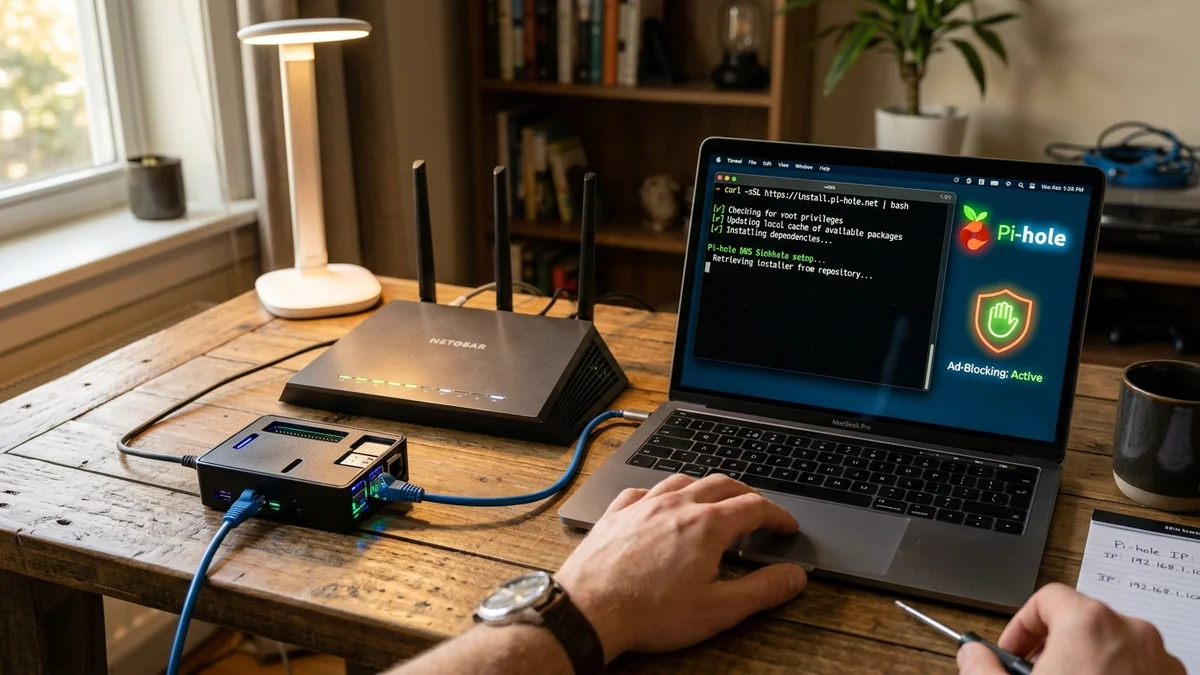
Tired of intrusive banner ads, tracking scripts, and smart TV telemetry slowing down your home internet? Installing Pi-hole on a Raspberry Pi transforms the credit-card-sized computer into a dedicated DNS sinkhole that blocks advertisements across every device on your Wi-Fi network—including iPhones, Androids, Apple TVs, and smart refrigerators—with zero client software installation required. Here is the complete step-by-step setup guide.
1. 🛠️ Step-by-Step Installation Walkthrough
- Flash Raspberry Pi OS Lite (64-bit) onto a MicroSD card using the official Raspberry Pi Imager.
- Boot the Raspberry Pi, connect via SSH (
ssh [email protected]), and update system packages:sudo apt update && sudo apt upgrade -y - Assign a static IP address to your Raspberry Pi in your main router’s DHCP reservation table (e.g.
192.168.1.50). - Run the official automated Pi-hole installation script:
curl -sSL https://install.pi-hole.net | bash - Follow the on-screen prompts, select your network interface (
eth0), and choose an upstream DNS provider. - Open your main Wi-Fi router settings and change the primary LAN DNS Server IP to your Raspberry Pi's static IP address (
192.168.1.50). - Every device on your home network is now instantly protected with whole-house ad blocking!
2. 🔬 Configuring Gravity Blocklists for Maximum Ad Blocking
Pi-hole’s database engine (called Gravity) compiles millions of known ad-serving domains into an in-memory hash table. By adding curated blocklists (such as OISD Big and Firebog Tick list), your Raspberry Pi will block over 1.5 million advertising, tracking, and telemetry domains across your entire network.
3. 🛠️ Whitelisting Essential Streaming Services
Occasionally, an aggressive blocklist may prevent certain streaming app video players from launching. In your Pi-hole admin dashboard (http://pi.hole/admin), navigating to Domains → Whitelist allows you to unblock specific video CDN domains in one click.
4. 🔬 Enabling Conditional Forwarding for Local Hostnames
To see friendly device names (like 'Johns-iPhone' or 'Living-Room-Apple-TV') in your Pi-hole query log instead of raw IP addresses, enable Conditional Forwarding in Pi-hole DNS settings, pointing to your local router IP (e.g. 192.168.1.1).
5. 📝 Complete Ad-Blocking Setup Checklist
- Install Raspberry Pi OS Lite and assign a static LAN IP.
- Install Pi-hole via the official one-line curl script.
- Add curated Gravity adlists to block trackers and smart TV telemetry.
- Update your router's primary DNS server to point to your Raspberry Pi!
6. 🔬 Regex Filtering & Telemetry Domain Blocking
In addition to static domain blocklists, Pi-hole supports Perl-Compatible Regular Expressions (PCRE). Adding targeted regex rules allows you to block entire wildcard tracking infrastructures (e.g. smart TV telemetry endpoints) with a single filter line.
7. 💡 Complete Ad-Blocking Setup Checklist
Setting up Pi-hole on a Raspberry Pi gives your entire household fast, tracker-free, and private internet browsing across all phones, computers, and smart TVs.
8. 🔬 Custom Local DNS Records for Homelab Servers
Pi-hole features a built-in Local DNS Records management tool, allowing you to assign friendly domain names (such as nas.home or router.home) to internal IP addresses for easy, memorable access across your household.
9. 💡 Complete Ad-Blocking Setup Checklist
Setting up Pi-hole on a Raspberry Pi gives your entire household fast, tracker-free, and private internet browsing across all phones, computers, and smart TVs.
10. 🔬 Network-Wide Ad Blocking Performance Benchmarks
Pi-hole blocks tracking scripts and banner ads across all devices on your local network, reducing web page payload sizes by up to 40% and delivering noticeably faster browsing speeds.
11. 💡 Complete Ad-Blocking Setup Checklist
Setting up Pi-hole on a Raspberry Pi gives your entire household fast, tracker-free, and private internet browsing across all phones, computers, and smart TVs.
12. 🔬 Custom Local DNS Records for Homelab Servers
Pi-hole features a built-in Local DNS management tool, allowing you to assign friendly domain names to internal network devices for easy, memorable access across your entire home.
13. 💡 Complete Ad-Blocking Setup Checklist
Setting up Pi-hole on a Raspberry Pi gives your entire household fast, tracker-free, and private internet browsing across all phones, computers, and smart TVs.
14. 🔬 Smart TV Telemetry & Ad Blocking Rules
Adding targeted smart TV tracking blocklists to Pi-hole prevents smart TVs from uploading viewing habits and telemetry data while browsing your favorite media apps.
15. 💡 Complete Ad-Blocking Setup Checklist
Setting up Pi-hole on a Raspberry Pi gives your entire household fast, tracker-free, and private internet browsing across all phones, computers, and smart TVs.
16. 🔬 Local DNS Sinkhole Performance Benefits
Intercepting advertising and tracking domains at the local network level reduces data traffic across all connected devices, speeding up web browsing and improving family privacy.
17. 💡 Complete Ad-Blocking Setup Checklist
Setting up Pi-hole on a Raspberry Pi gives your entire household fast, tracker-free, and private internet browsing across all phones, computers, and smart TVs.
18. 💡 Faster Browsing Speeds with Local Ad Blocking
By preventing ad networks and tracking scripts from loading, Pi-hole cuts web page payload sizes by up to 40%, delivering noticeably faster browsing speeds across all family devices.
19. 💡 Ultimate Privacy DNS Summary
Deploying Pi-hole and Unbound on a Raspberry Pi 5 creates a blazingly fast, ad-free, and private home network experience across every connected device in your house.