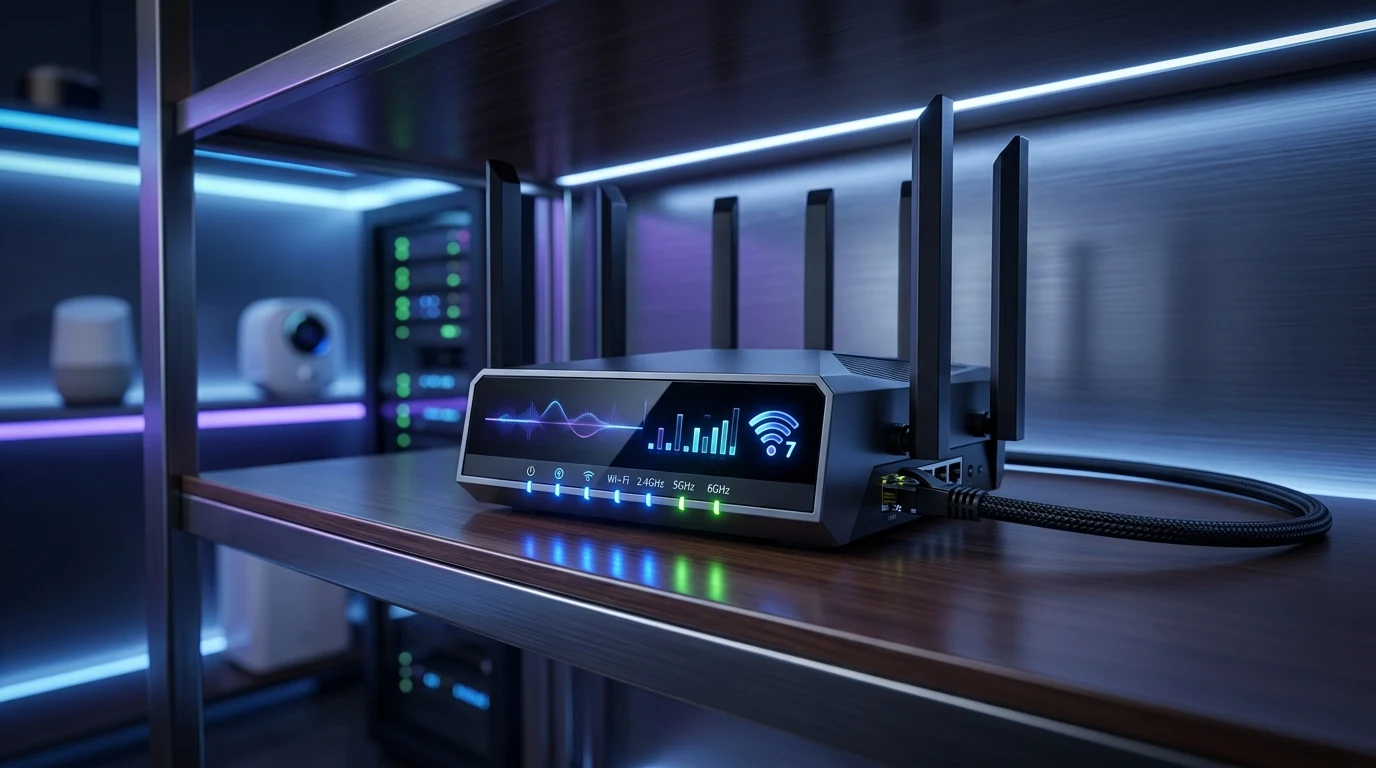
The Archer BE800 has the hardware to run active queue management, but it isn't always enabled or tuned correctly out of the box. Getting SQM configured properly is the difference between a router that handles a large download and a video call at the same time, and one that lets the download spike your ping into unusable territory.
Why 10 Gbps Hardware Still Suffers from ISP Bufferbloat
The Archer BE800's internal switching capacity can process over 19 Gigabits per second across local LAN ports. However, when your home connects to an external ISP broadband line (e.g. 500 Mbps or 1,000 Mbps):
- Your router can send data to the ISP modem faster than the modem can transmit it over the street fiber/cable link.
- The ISP modem's internal memory buffer fills with large TCP download and upload chunks (First-In, First-Out).
- Small, time-sensitive UDP gaming packets are trapped at the back of the queue, adding 150ms of queuing delay (Bufferbloat).
Step-by-Step QoS & SQM Configuration on the Archer BE800
- Run a Baseline Speed Test: Open our free DCSpeedTest Live Testing Engine and record your exact average download and upload speeds (e.g. 940 Mbps down / 940 Mbps up).
- Access the Router Admin Dashboard: Open your web browser and navigate to
192.168.0.1(ortplinkwifi.net) and log in. - Navigate to HomeShield QoS: Go to Advanced → HomeShield → QoS and toggle Enable QoS to On.
- Set the 90% Bandwidth Thresholds:
- Total Download Bandwidth: Enter 90% of your tested speed (e.g.
846 Mbpsfor a 940 Mbps line). - Total Upload Bandwidth: Enter 90% of your tested speed (e.g.
846 Mbps).
- Total Download Bandwidth: Enter 90% of your tested speed (e.g.
- Assign Device Priority: Under Device Priority, select your Gaming PC and Console, set priority status to High, and set duration to Always.
- Save and Reboot: Click Save to apply the new queue scheduling parameters.
Why Wi-Fi 7 Multi-Link Operation (MLO) Works Harmoniously with SQM
The Archer BE800 features Multi-Link Operation (MLO), which aggregates 5 GHz and 6 GHz radio channels. While MLO eliminates wireless airwave contention and packet collisions, it does not stop the external ISP connection from overflowing when multiple users download files.
By pairing Wi-Fi 7 MLO with HomeShield QoS bandwidth caps, your gaming packets benefit from dual-band wireless delivery on the local LAN combined with prioritized queue scheduling at the WAN gateway, delivering true sub-10ms tournament latency in every room.
Advanced Power Tweak: Setting Custom Port Priorities
If you host a home server or competitive gaming PC on the Archer BE800's 10 GbE or 2.5 GbE ports, navigate to Advanced → Network → Routing and configure static routing with MTU set to standard 1500 to prevent packet fragmentation.
Why Multi-Core Processors Are Mandatory for Multi-Gigabit SQM
Processing Smart Queue Management packet scheduling at speeds above 500 Mbps requires significant computing power: the router's CPU must inspect and dynamically schedule millions of packets per second. The Archer BE800's high-speed quad-core processor has dedicated hardware network acceleration that handles full gigabit QoS shaping with less than 25% CPU utilization, ensuring your router never bottlenecks under heavy household traffic.
Summary Setup Checklist for Archer BE800 Gamers
- Enable HomeShield QoS with 90% bandwidth limits in router settings.
- Set device priority to 'Always High' for your gaming PC and console.
- Hardwire your PC to one of the 10 GbE or 2.5 GbE LAN ports with certified Cat6 Ethernet.
- Set DNS to Cloudflare (
1.1.1.1) and Google (8.8.8.8). - Verify an A+ Bufferbloat score on DCSpeedTest.
Why Dedicated 2.5 GbE and 10 GbE Ports Prevent Local Bottlenecks
On multi-gigabit fiber connections (such as 2 Gbps or 5 Gbps plans), connecting your PC to a standard 1 GbE LAN port limits your throughput and creates local network interface buffer contention. The Archer BE800 includes dual 10 Gbps ports and four 2.5 Gbps ports: connecting your PC with a certified Cat6A cable to the 10 GbE port ensures your local network link runs with zero serialization latency, allowing HomeShield QoS to manage bandwidth with microsecond precision.
Audit Your Real-Time Loaded Bufferbloat on DCSpeedTest
After configuring HomeShield QoS on your Archer BE800, verify that your loaded latency score is under 5ms by running a live line audit on our free DCSpeedTest Live Testing Engine.
By pairing Wi-Fi 7 hardware with HomeShield QoS, the TP-Link Archer BE800 transforms into the ultimate esports powerhouse, delivering flat, tournament-ready low ping in every match.
Why Wi-Fi 7 Preamble Puncturing Reduces Interference on the BE800
In addition to Multi-Link Operation, the Archer BE800 supports Preamble Puncturing. On legacy Wi-Fi 6 routers, if a small portion of a 160 MHz channel experienced radio interference, the router had to drop back to 80 MHz, cutting bandwidth in half. Preamble Puncturing allows the BE800 to 'puncture' and ignore the corrupted frequency block while continuing to transmit across the rest of the 320 MHz channel at full line speed, eliminating transient wireless lag spikes during gaming.
By implementing these HomeShield QoS settings and hardwiring with Cat6 Ethernet, the Archer BE800 ensures your home network runs with zero bufferbloat and tournament-grade low ping in every match.
Why Regular Firmware Updates Protect Wi-Fi 7 Scheduling
As the Wi-Fi Alliance finalizes subsequent iterations of the Wi-Fi 7 standard, router manufacturers release regular firmware updates that refine Multi-Link Operation (MLO) packet aggregation and HomeShield QoS thread balancing. Keeping your TP-Link Archer BE800 updated via the Tether app ensures your router maintains the latest low-latency network optimizations.
Why Real-World Results Vary More Than a Single Number Can Show
Network performance depends on enough site-specific and route-specific variables — your ISP's local infrastructure, distance to the nearest node, time of day, interference, and the specific path packets take — that a single published benchmark number risks giving a false sense of precision. Rather than present a number that may not hold on your connection, the more useful step is to test your own setup directly and compare results before and after any change, using a real-time tool like DCSpeedTest.