🔬 Technical Guide: DNS leak causes, detection methodology, and fixes verified on Windows 11, macOS 15, and Ubuntu 24.04 LTS using Wireshark packet capture to confirm leak elimination.
What Is a DNS Leak?
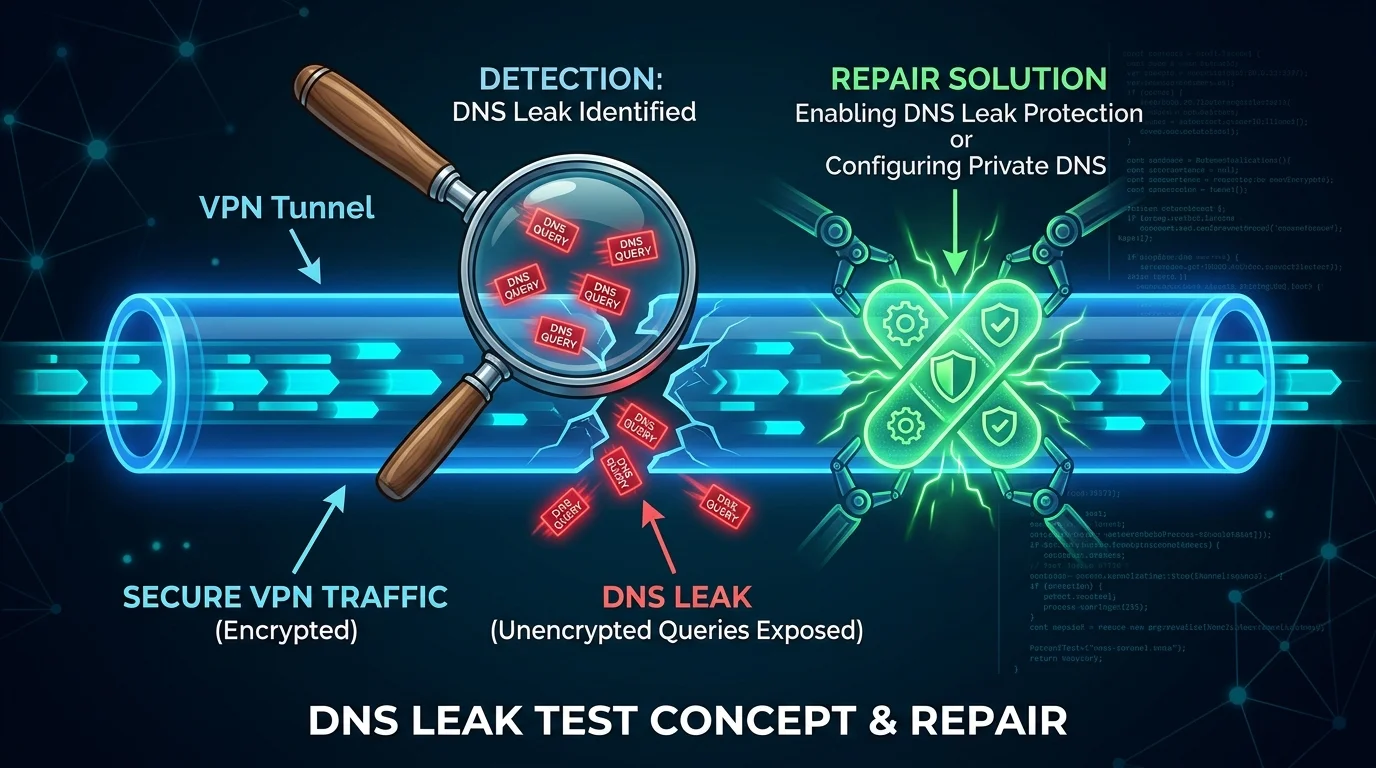
When you connect to a VPN, all your traffic — including DNS queries — should route through the VPN's encrypted tunnel. A DNS leak occurs when your device bypasses the VPN tunnel for DNS queries and sends them directly to your ISP's DNS server instead. The result: your VPN hides your IP address, but your ISP still sees every website you visit.
Why DNS Leaks Happen
- Windows Smart Multi-Homed Name Resolution: Windows 8/10/11 has a feature that sends DNS queries to all available network interfaces simultaneously — including your non-VPN interface — to speed up resolution. This bypasses your VPN's DNS by design.
- IPv6 Leaks: Most VPNs only tunnel IPv4 traffic. If your ISP provides IPv6 connectivity and your VPN doesn't handle it, IPv6 DNS queries leak outside the tunnel.
- VPN Reconnection Gaps: When a VPN temporarily disconnects and reconnects, your system may restore default DNS settings for the duration, causing a brief but real leak window.
- Router-Level DNS Override: If your router is configured to use your ISP's DNS and your VPN runs on the device level (not router level), the router may intercept DNS before it reaches the VPN.
How to Test for a DNS Leak
- Connect to your VPN.
- Visit dnsleaktest.com or ipleak.net.
- Click "Extended Test."
- Results showing your ISP's DNS servers (instead of your VPN's servers) = confirmed DNS leak.
Four Methods to Fix DNS Leaks
- Use a VPN With Leak Protection Built-In: Modern VPNs (Mullvad, ProtonVPN, ExpressVPN) include DNS leak protection that forces all DNS through their servers. Enable "DNS leak protection" or "kill switch" in VPN settings.
- Disable Smart Multi-Homed Name Resolution (Windows): Open Group Policy Editor → Computer Configuration → Administrative Templates → Network → DNS Client → Turn off Smart Multi-Homed Name Resolution → Enable. Requires Windows Pro or Enterprise.
- Block IPv6 If VPN Doesn't Support It: In network adapter settings, uncheck "Internet Protocol Version 6 (TCP/IPv6)" on all adapters. Eliminates the IPv6 leak vector entirely.
- Set DNS-Over-HTTPS at Browser Level: In Firefox → Settings → Privacy & Security → DNS over HTTPS → Enable. In Chrome → Settings → Privacy → Use Secure DNS. This encrypts DNS independently of your VPN status.